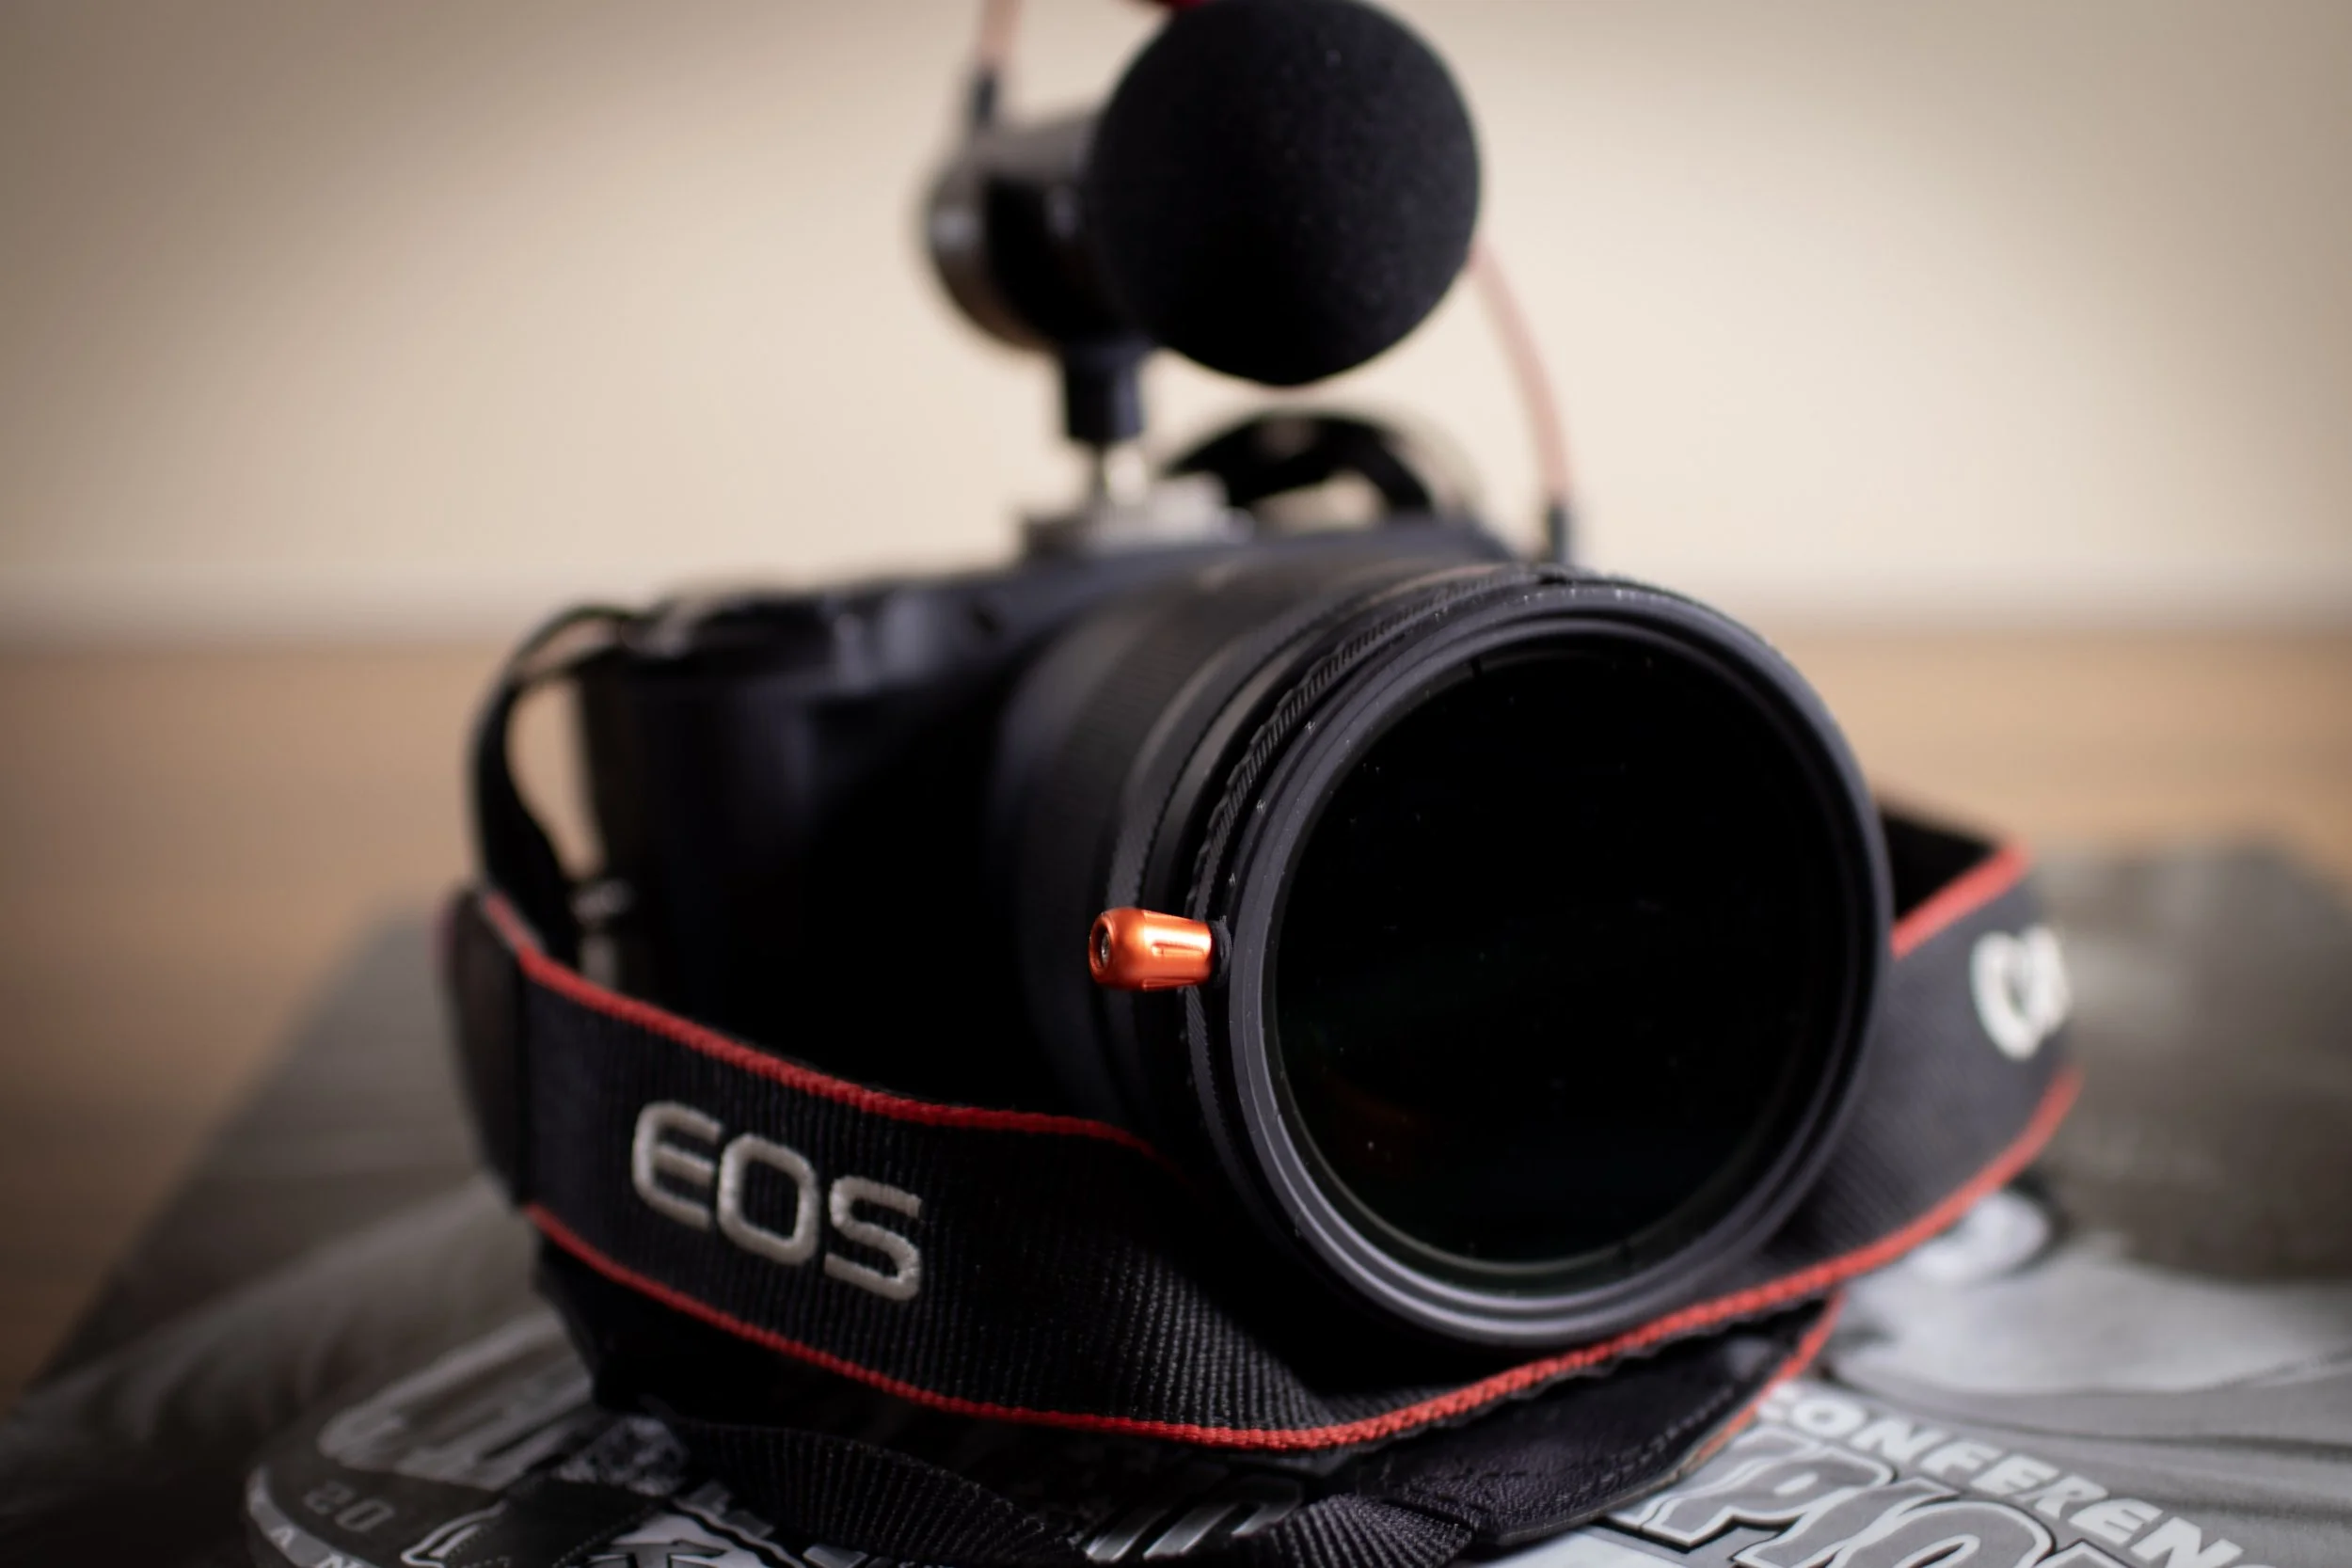
Through The Lens
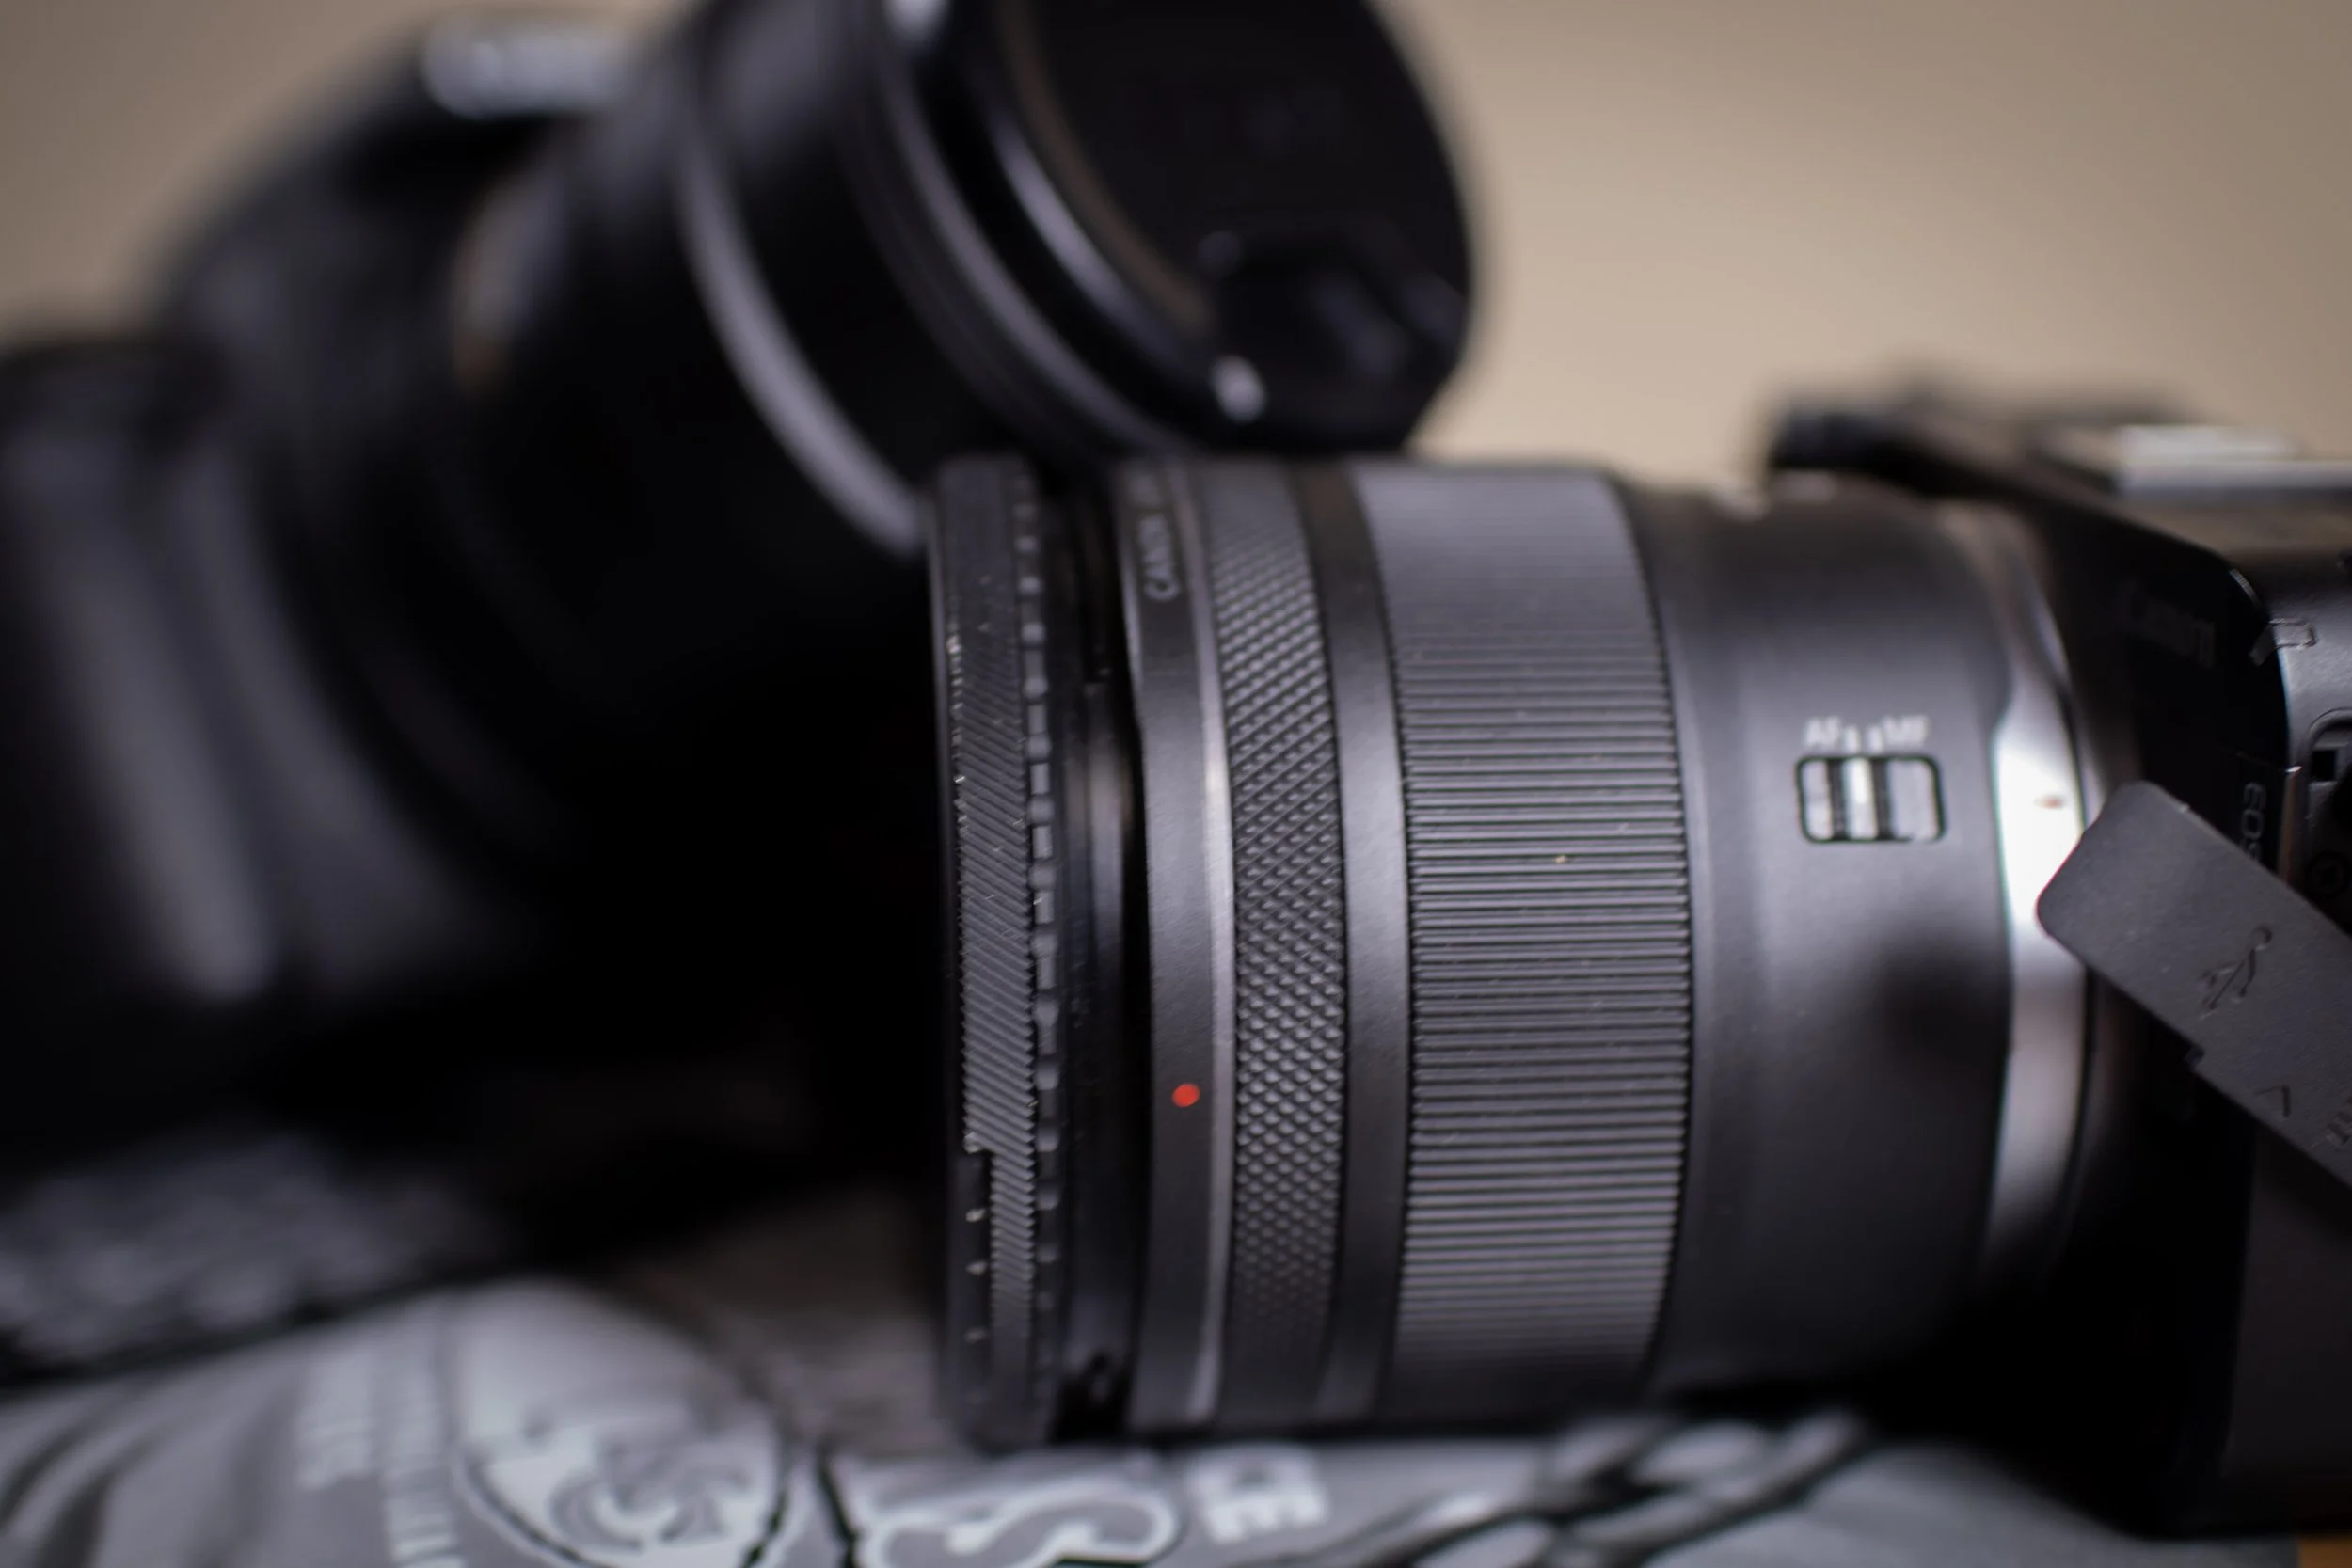
Photography has many more layers than most realize. The subject, and the scene are ultimately the focal point that comes to mind. However, the composition that creates the final image is much more complex than simply framing a shot. Now that I mention framing, there is a foreground, mid-ground and background to consider. This concept helps create the depth that we strive for with photography. Properly arranging the frame to create this depth of field is critical. It also works hand in hand with one of our camera’s key components, the aperture. Widening the aperture (lowering the f-stop) allows more light to reach the camera’s sensor. This effects the overall exposure of the image, but also impacts the depth of field for the camera itself. For instance, widening our aperture will allow us to capture an image with more foreground/background blur (known as bokah). The correct amount of blur is creative judgement, to bring more or less focus on a single point within the image.
Next, the lightning or rather balancing the lighting, is key. A correctly exposed photograph not only looks better to the eye, but retains more data within the image (more color ranging from the highlights to shadows). So many directions I could go with this such as clipping, roll-off, etc… However, let’s focus on light reaching the camera sensor. Assuming the scene has an ample amount of light, the camera controls this light intake with three aspects. Aperture, shutter speed, and ISO. Since we already mentioned aperture, let’s talk about ISO. ISO can be boiled down to the camera’s sensitivity to light. Raising the ISO such as going from 100 to 200 is increasing the amount of light sensitivity by a whole ‘stop of light.’ On modern camera’s each time you double the ISO number, it is considered as a ‘stop of light.’ This helps professional photographers correlate each adjustment. For example, when using a strobe light the intensity can be changed by adjusting the distance from the subject to the light. Often times, doubling the distance from subject to light fixture reduces the amount of light hitting the subject by a whole ‘stop of light'. Also, changing how the light is dispersed/filtered or the light fixture’s output does the same. This is why many photographers have what is called a ‘light meter’ to meter the subject lighting for adjusting to a correct exposure. Back to ISO, with raising the camera’s sensitivity you also introduce noise. This noise causes a grainy look that affects the photo’s overall sharpness. So keeping ISO as low as possible is usually the goal.
Now with shutter speed, you have to consider the outcome you are intending. Lowering the shutter speed will increase the amount of light hitting the sensor as it keeps the window(shutter) open for longer. If the camera is still enough, as well as the subject, this can be an effective way to up the brightness of your image without causing blur. However, motion blur is a factor. Sometimes this is an intentional part of the imagery, to show motion. Other times, like within sports photography/fast moving scenes you want to capture a crisp image while the subject is moving. To do so, you would raise the shutter speed, making the window(shutter) close faster. Thus, less light will reach the sensor.
All that said, I’ve mentioned the three aspects of the exposure triangle along with a brief acknowledgement of ambient/subject lightning. These all come together to create the correct lighting of the subject/scene. The photographer’s expertise really shines(pun intended) when thoughtfully applying these various concepts within their image creation. Going one more layer, we would start talking about the lenses used and their various purposes. The basic lenses are numbered by millimeter, which correlates to the length of the lens. This ‘lens length’ impacts how wide or narrow the shot is, which directly impacts the framing of the shot in correlation to the photographer’s distance from the subject. Distance can then impact the ‘bokah’ or blur that a certain lense can achieve. Ontop of that, depth of field comes into play once again with what is called ‘compression’…
Now we can begin to understand the complexity of real photography, and why taking a look through the lens is not as simple as pressing a button. Hopefully this is helpful for some looking to understand the thought process of a photographer, and may it help show the importance of having a knowledgable professional fill the role. Shane Visual Studio is here to bridge the gap, and capture some phenomenal imagery!